Introduction
This article is a step-by-step guide for the MetaMask wallet setup on your desktop with no steps skipped. It is your idea guide even if you are an absolute beginner in crypto. Each of the steps is highlighted with screenshots to make it easier for you to understand.
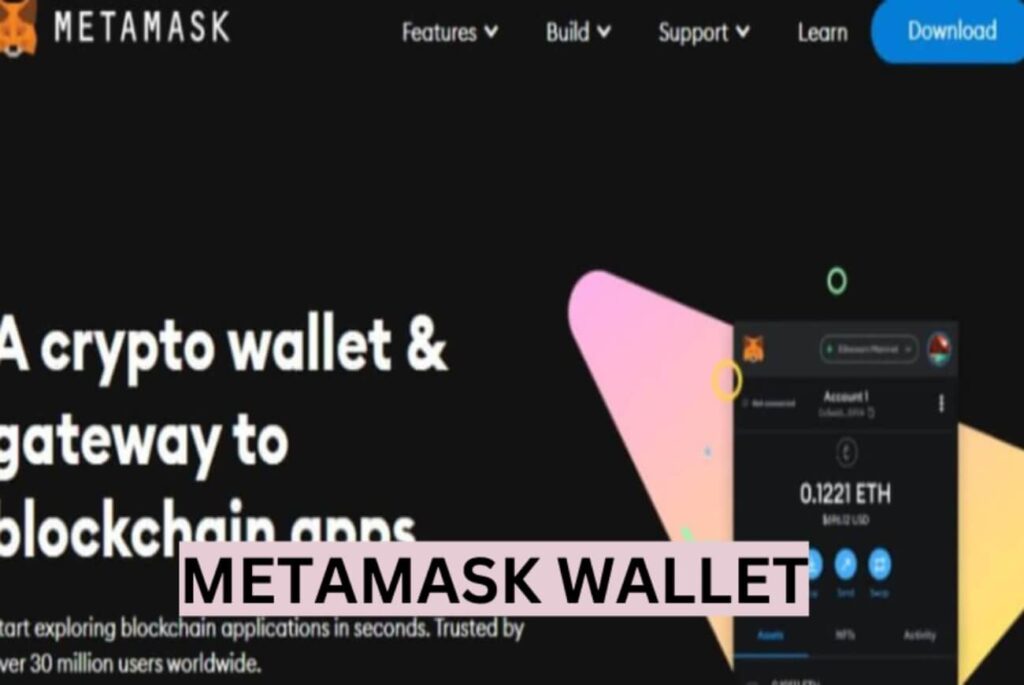
Metamask wallet is one of the most widely used crypto wallets for desktops. There are currently over 30 million monthly active users of the wallet. It is a tool for you to access various Web 3.0 applications as it is compatible with most Decentralized Applications. It comes as a Chrome Browser Extension and you can easily integrate it into your online crypto interactions
Step 1: Type The Correct URL In Your Chrome Browser
Go to your Chrome browser and type https://metamask.io in the URL or get the exact link through a Google search using Metamask. It is usually the first option in the list.

Step 2: Download the Chrome Extension
Click on the download button indicated above. Your URL should be reading https://metamask.io/download/ at this stage. Proceed by clicking on “Install MetaMask for Chrome”.

Step 3: Add To Chrome Extension
Add MetaMask to your Chrome Extension by Clicking on the “Add to Chrome” button. You may decide to watch the video for educational purposes. It is some sort of advert for what MetaMask is used for, which is, as a tool to access the new internet -Web 3.0

Then Click “Add Extension” in the pop-up that is displayed to complete this step.

The wallet Extension file is then automatically downloaded and you are then presented with a new page for you to either create a new wallet or import an existing wallet.
Step 4: Create a New Wallet (or Import An Existing One)
Click on “Create a new Wallet” if you are a new user.

(Existing wallet users or persons who wish to import wallets from other sources will need to click on “import existing wallet” and then proceed to input the 12-word Mneumonic Phrases that represent their private keys)
Step 5: Agree To The Privacy Agreement (Metamask Wallet Setup)
Click on “I agree” to give your consent to the privacy policy of MetaMask

Step 6: Create Your Password
Create your unique password of at least 8 characters in length. Preferably using a combination of the alphabet (upper and lower cases), numbers, and special symbols like #$%^&*@!#, etc.

Repeat the same password in the next column, and tick the little box underneath that.
Then click on “Create a new wallet” to create your wallet.
Note: MetaMask does not store passwords and you cannot ask them to help you reset your password -they do not have it (You will need your private keys for that, to be discussed in the next step)
Step 7: Secure Your Recovery Phrase
Watch the video to learn about recovery phrases and ways you can store your securely save them. Then click on “Secure my wallet (recommended)”

It is of utmost importance that you secure your wallet. Copy them in a secure place and should never be released to anyone. Whoever has access to your recovery phrase (private keys) has control of your wallet. Your password is useless if your Recovery phrase is compromised.
Step 8: Write Down Your Recovery Phrase
Click on “Reveal Secret Recovery Phrase” to show your Secret Phrase.

Then Write down your Recovery Phrase in a secure place, and then click on “Next”

Your Recovery Phrase should only be accessible to you. It is your access to control your wallet
Some of the recommended ways to store your recovery phrase (private keys) are to Save in a password manager, Store in a safe deposit box, and Write down and store in multiple secret places. It is never a good idea to save it in your email as email is often the target of hackers.
Step 9: Confirm Your Secret Recovery Phrase
Click on “Confirm” after filling in the missing Secret Recovery Phrase using the ones you copied in Step 9. (In this instance, No. 3, 4, and 8 were missing)

Step 10: Complete The Wallet Installation
Click on “Got it”

Then click on “Done”

Step 11: Pin MetaMask To Your Browsing Tab
Pin the MetaMask logo, check the screenshots below

Then click on the Pin

Step 12: Logging Into Your Wallet
To log into your wallet, simply click on the MetaMask logo on the top right corner of your screen and then enter your login password

To get your wallet address, see the below screenshot

That is the address you give out to others to send you some tokens.
Closing Remarks
When doing a Metamask wallet setup and installation, it is important to ensure that you safeguard your Secret 12 phrase. It is your access or key to the wallet. It is of much more significance than your MetaMask wallet password. Whoever holds the wallet’s Secret Recovery Phrase controls the wallet. It is also worth mentioning that storing your Secret phrase in your email is not the best practice as emails are usually the target of scammers. Keep your Secret phrase offline, written on a sheet of paper and kept in a safe.
Also read: CRYPTO GUIDE FOR BEGINNERS -TIPS FOR SUCCESS


